
Last updated November 4, 2026
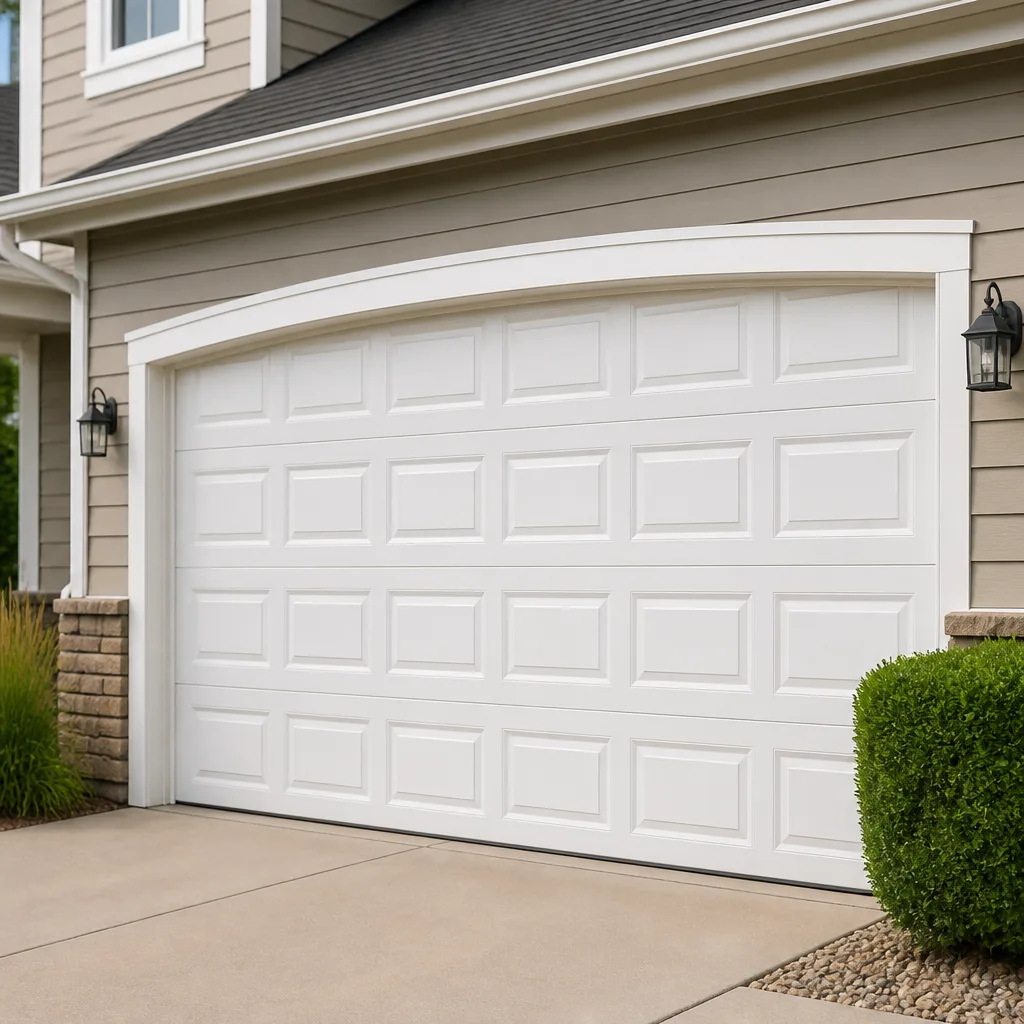 Raised-panel steel
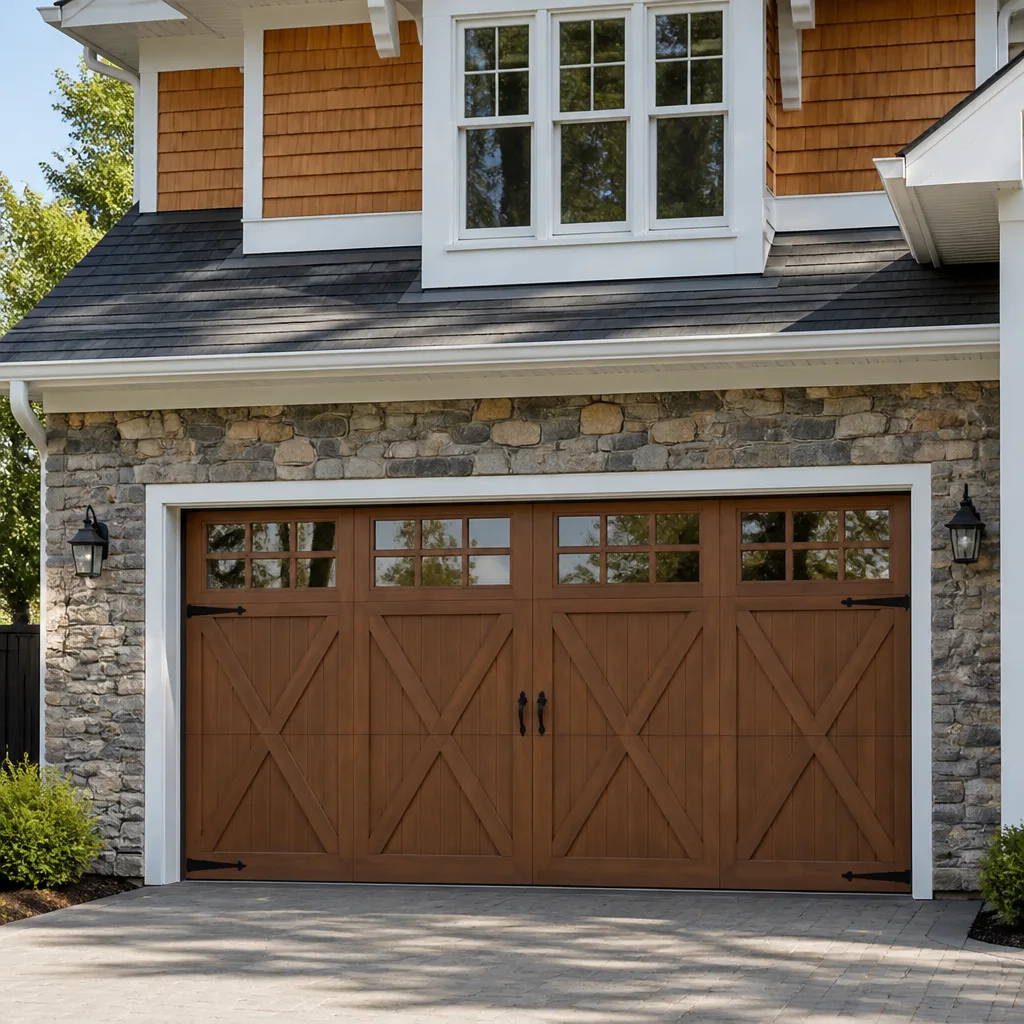 Carriage house
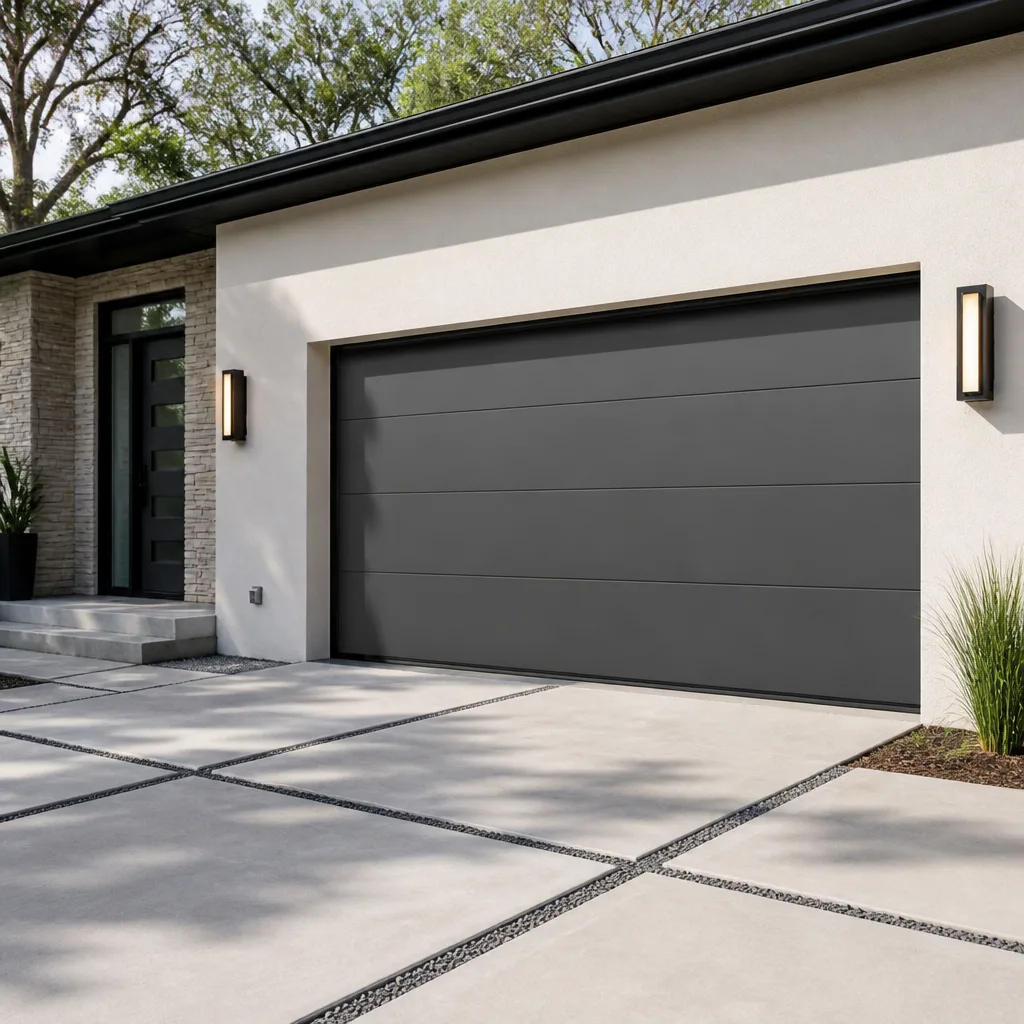 Modern flush
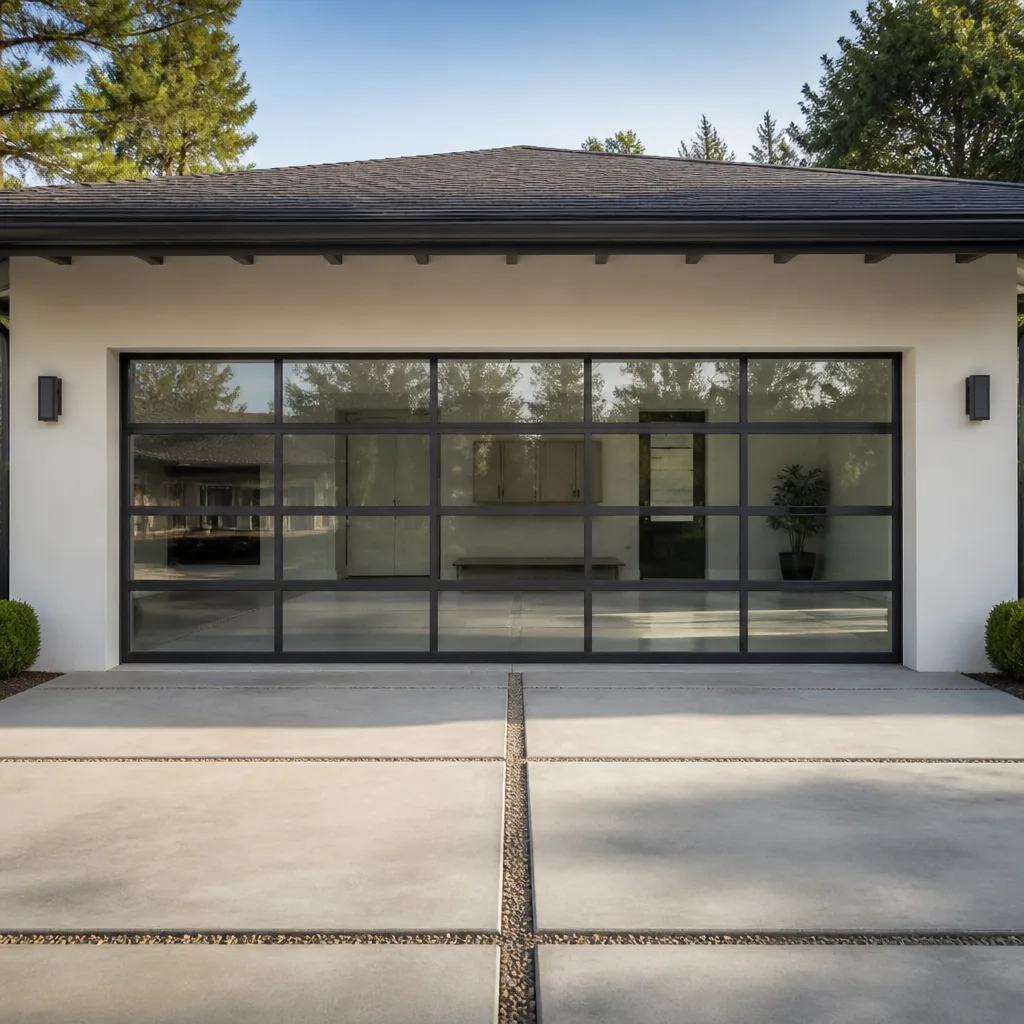 Full-view glass
 LiftMaster openers
 Chamberlain openers
Full 25-point door and opener safety check with every visit - springs, cables, rollers, tracks, and your LiftMaster or Chamberlain opener included
You get a price before we start. It does not change when the truck arrives.
Get your free estimateGarage Door Repair Maintenance Checklist for Arleta Homeowners
Most homeowners in Arleta lubricate their garage door rollers last. That’s backwards, and in San Fernando Valley summer heat it matters more than people realize. Dried rollers and hinges are usually the first failure point on a garage door in this climate, not the last thing worth addressing. By the time most people get around to lubricating them, the opener motor has already been grinding against preventable friction for weeks. This guide rearranges the standard maintenance checklist into a diagnostic sequence built for Arleta’s specific conditions: hot, dry summers, fine dust that settles into every sensor and bearing, and doors that cycle more than average because garages here function as workshops, storage, and secondary entrances. You’ll learn the order that stops small problems before they require a call for garage door repair.
Quick Answer
A garage door maintenance checklist for Arleta homeowners should follow this order: inspect and clean photo-eye sensors first, then test the door balance manually, then lubricate rollers and hinges with a silicone-based product rated for high heat, then tighten hardware, then check the auto-reverse safety system, and finally test the opener’s force settings. Most of this takes under 45 minutes. The tasks that require a professional are spring replacement, cable replacement, and any adjustment to the opener’s internal force limits.
Styles & brands we work with
- Raised-panel steel
- Carriage house
- Modern flush
- Full-view glass
- LiftMaster openers
- Chamberlain openers
Table of Contents
- Why the Sequence Matters More Than the Checklist
- Step 1: Clean and Align the Photo-Eye Sensors
- Step 2: The Balance Test Most Homeowners Get Wrong
- Step 3: Lubrication That Survives an Arleta Summer
- Step 4: Hardware Tightening and Visual Inspection
- Step 5: Auto-Reverse and Force Settings
- Step 6: What Homeowners Should Not Attempt
- Seasonal Rhythm for Arleta Garage Doors
Why the Sequence Matters More Than the Checklist
Every generic maintenance guide lists the same tasks: clean sensors, lubricate rollers, tighten bolts, test balance. But the order changes what you catch. A door that’s slightly out of balance will wear rollers unevenly, so if you lubricate first and test balance last, you’ve masked a symptom instead of finding it. A photo-eye sensor dirty with Arleta dust will stop the door mid-cycle, which means every other test you run that day happens under a door that won’t close properly. Sequence turns a to-do list into a diagnostic procedure. We work on the brand already in your garage, whether that’s a Clopay door on a Chamberlain opener or an Amarr door on a Genie drive, and the pattern we see over and over in Arleta is the same: homeowners clean rollers first, skip the balance test entirely, and then wonder why a one-year-old opener motor is overheating. The order below catches the cause before the symptom.
This matters in Arleta specifically because garages here get hot. Not kind of warm. Hot enough that lubricant breaks down faster than it would in coastal air, dust from the 5 and 170 corridors settles on horizontal surfaces within days, and doors cycle often because households use garages as living space. The sequence below accounts for all three.
Step 1: Clean and Align the Photo-Eye Sensors
The photo-eye sensors sit on either side of the door track, about six inches off the floor. They shoot an invisible beam across the opening. If that beam is interrupted, the door refuses to close. In Arleta, the beam doesn’t usually get blocked by a box or a bicycle. It gets blocked by a thin film of dust and spider silk, or the sensor gets bumped out of alignment by something leaning against the wall. This is the most common cause of “door goes down two inches and reverses” in our area.
Here’s the cleaning and alignment process that avoids knocking the beam off target:
- Turn off the opener. Unplug the opener unit or use the wall button’s lock feature if your opener has one. You want the door still and the opener unwilling to move while you work.
- Wipe each sensor lens with a dry microfiber cloth. Don’t use glass cleaner, and never use anything wet. Damp cloths smear the dust into a film. Dry cloth only, gentle pressure.
- Check the LED indicator lights. Most sensors have a small light. On LiftMaster and Chamberlain openers, a solid green light on the receiving sensor and steady amber on the sending sensor means alignment is good. A blinking or off light means misalignment or a wiring problem.
- If the light is blinking, loosen the wing nut on the sensor bracket. Adjust the sensor slowly while watching the light. When it goes solid, tighten the nut without moving the sensor body.
- Test the door with the wall button, not the remote. Remotes introduce a separate variable. If the wall button closes the door fully, the sensors are fine.
If you can’t get the light solid after straightening and cleaning, leave the sensors alone and call a specialist. The problem may be in the wiring behind the wall, not the sensor itself. Garage door opener repair on Arleta homes often starts with a sensor that looks fine but has a broken wire inside the wall.
Step 2: The Balance Test Most Homeowners Get Wrong
The balance test tells you whether the torsion springs are doing their job. Springs, not the opener motor, carry the weight of the door. When springs weaken, the opener compensates by working harder, which shortens its life. Most homeowners test balance by pulling the emergency release cord and lifting the door a few inches. That’s not the test. A door can pass a partial lift and still be dangerously out of balance.
Here’s a passing result, which most guides never describe clearly enough:
- Close the door completely. Pull the red emergency release cord straight down. This disconnects the door from the opener carriage.
- Lift the door to waist height using both hands on the handle or bottom section. The door should stay exactly where you leave it. Not drop. Not jump upward. Hold position.
- Lift the door to about three-quarters open. Same thing. It should stay put.
- Lower the door gently halfway. It should stop and hold. A door that slams down at any point has weak or broken springs. A door that flies upward has had springs over-tightened, which happens when someone replaces one spring but not the other.
A door that drifts downward six inches or more from waist height is telling you the springs are done. That is not a homeowner repair. Springs are under enough tension to cause serious injury, and in Arleta the average door cycle count means springs fail faster than in cooler areas where doors open twice a day instead of six times. If the door fails the balance test, skip the rest of the checklist and call a technician. Continuing to use an unbalanced door turns a spring replacement into an opener replacement.
Reconnect the door to the carriage after testing by pulling the release cord toward the door and running the opener until the carriage hooks back on. Listen for the click.
Step 3: Lubrication That Survives an Arleta Summer
Arleta summer temperatures regularly hit the mid-90s and higher. Standard garage door lubricant, and especially WD-40, breaks down under that heat and turns into a sticky residue that catches dust. Once that happens, the rollers stick, the hinges bind, and the whole door gets louder and slower. The right product for this climate is a silicone-based spray lubricant, dry type if you can find it, or a white lithium grease for metal-on-metal contact points. Never use penetrating oil, never use motor oil, and never use cooking spray, which we mention because people try it.
What gets lubricated and what gets left alone:
- Roller ball bearings: If your rollers are metal with exposed ball bearings, a small shot of silicone into each bearing is worth doing. If your rollers are nylon, the bearing still benefits. Do not spray the roller face where it touches the track.
- Hinges: The pivot points where hinge leaves fold. A light coat on both sides of each hinge pin area.
- Torsion spring: A thin, even coat along the coil so it doesn’t rub against itself. This reduces noise and friction. Do not touch the spring with your hands while applying. Spray only.
- Track: Do not lubricate the track. Clean it with a dry cloth if debris builds up. Lubricating tracks just makes the rollers slip and collects dust. That’s the most common mistake we see on maintenance videos.
In Arleta’s dust load, less is more with lubricant. A light coat every four to six months beats a heavy coat once a year. Heavy lubricant plus dust equals paste, and paste grinds down roller bearings. If you’re working with a Clopay door, check whether the rollers are sealed bearing. Sealed bearings don’t need lubrication and trying to lubricate them just makes the housing sticky.
Step 4: Hardware Tightening and Visual Inspection
Garage doors move hundreds of times a month, and every cycle shakes every bolt, nut, and bracket. Over time, hardware backs off. This step is simple but the most commonly skipped. Go over the door with a socket set and a wrench. You’re looking for anything loose, anything rusted, and anything bent.
What to check:
- Hinge bolts: Each hinge has two or four bolts into the door section. Check every hinge. A loose hinge lets the door sag, which wears tracks unevenly.
- Track brackets: The brackets that hold the vertical and horizontal track to the wall and ceiling. If these come loose, the track flexes, and the door binds.
- Opener mounting bolts: The opener hangs from the ceiling on perforated strap or angle iron. Tighten the bolts at both ends.
- Bottom weather seal: Look for cracks, gaps, or brittleness. In Arleta, the bottom seal handles direct driveway heat and occasional monsoon-season rain. A damaged seal lets dust, leaves, and water in.
- Cable condition: Look at the cables on both sides. Fraying, rust, or kinking means the cable is close to failure. Do not touch or attempt to adjust cables. Call a professional.
This visual pass is also when you notice panel dents from kids’ bikes, cracked weatherstripping up the sides, and rust around the bottom section. These aren’t urgent, but they’re worth noting. A small rust spot on the bottom panel of a Wayne Dalton door in Arleta is the start of a bigger problem if it’s left through one summer of heat and occasional rain.
Step 5: Auto-Reverse and Force Settings
Since 1993, every garage door opener sold in the United States has been required to include an auto-reverse mechanism that stops and reverses the door if it meets resistance while closing, and a photo-eye system. The auto-reverse test checks both the mechanical pressure reversal and the sensor beam. This is the safety feature that prevents a closing door from injuring a person or pet. Test it every month, not just during seasonal maintenance.
Here’s the correct test for both systems:
- Test the photo-eye beam first. With the door open, wave your hand in front of either sensor. Press the close button. The door should not move, or if it has already started, the door should reverse immediately.
- Test the mechanical auto-reverse. Lay a 2×4 flat on the floor under the door’s center. Close the door. The door should contact the wood, reverse within two seconds, and return to full open. If it crushes the wood and keeps pushing, the force setting is too high.
- If the door reverses properly, remove the wood and close the door. Stand inside and watch the door meet the floor. It should contact, compress the seal, and stop without bouncing back up. A door that rebounds off the floor means the down-force setting is too sensitive, and it’ll leave a gap every time.
Adjusting force settings on a LiftMaster or Chamberlain opener is done through the buttons on the motor unit, and the process is tied to the opener’s programming logic. In our experience, most homeowners who try to dial force up or down without understanding the control board just make the door behave unpredictably. If the auto-reverse test fails either part, that’s a call for garage door opener repair, not a DIY project.
Step 6: What Homeowners Should Not Attempt
Some tasks on garage doors look approachable and are genuinely dangerous. The rule is simple: anything under torsion, anything carrying weight, and anything wired to the opener stays off the DIY list.
- Spring replacement: Torsion springs hold hundreds of pounds of torque. Removing or installing them without the correct winding bars and experience is a serious injury risk. This is the number one task that belongs with a trained tech, no exceptions.
- Cable replacement: Cables work with the springs to carry the door. A snapped cable means the spring has released or broken, and removing the remaining cable without controlling the spring is dangerous.
- Opener force adjustments: Technically possible to adjust, but the internal force calibration is not a homeowner job on modern Genie or Chamberlain boards. Wrong settings defeat the safety reverse.
- Track realignment: Bending tracks back into shape with a hammer is how small problems become full track replacements. Vertical tracks need to be plumb, horizontal tracks level, and both need the correct gap from the door sections.
- Bottom bracket replacement: The bottom brackets on either side attach the cables to the door and sit directly under spring tension. Do not remove them.
What homeowners can safely do: clean sensors, lubricate, tighten bolts, test balance, test auto-reverse, replace remote batteries, and reset remotes. Everything else, call someone who does this all day. Garage doors are all we do at Garage Door Repair Arleta, and the distinction matters because the danger zones on a door aren’t obvious until they’ve already failed.
Seasonal Rhythm for Arleta Garage Doors
Arleta’s climate doesn’t have a brutal freeze season, but it has two distinct stress periods: the hot dry stretch from June through October, and the shorter rain window in winter. Each puts different demands on a garage door.
Summer months (June through October): Heat breaks down lubricant, dry air pulls moisture out of seals, and dust from unpaved parking areas and construction settles on everything. Run the full checklist in May before the heat peaks, then do a lighter pass in August: sensors, lubricant check, one balance test. Metal components expand in the heat, and a door that fit perfectly in March can bind slightly in August when the track warms. Doors with old wood sections, common in some of the older homes in Arleta, also absorb and release moisture at a different rate than the metal track, which changes the fit through the season.
Winter months (November through March): The main risks are rain, wind-blown debris, and occasional cold snaps that make aged seals brittle. Check the bottom seal before the first major rain. Clear any debris that’s built up around the door base. The balance test matters just as much in winter, because a spring that’s been weakening through the summer heat often finally fails on a cool morning when the metal has contracted and the spring’s grip changes.
Homes near the Pacoima Wash or closer to the Hansen Dam recreation area tend to get more dust and heavier dew than homes in the more central parts of Arleta. That’s a specific local pattern: moisture overnight, dust during the day, and a fine silt that builds up inside the bottom track. If you notice the door grinding or slowing at the same point every year, mark it on your calendar and schedule the maintenance a month early instead of waiting for the failure.
Common Mistakes to Avoid
- Lubricating with WD-40. WD-40 is a water displacer and solvent, not a lubricant. In Arleta’s heat it evaporates within weeks and leaves a gummy residue that mixes with dust. Use silicone spray or white lithium grease.
- Lubricating the track. The track is meant to be dry. Adding grease to the track makes the rollers slip and collects a layer of dust that then grinds against the roller bearings. The track should be clean, not slick.
- Testing balance without disconnecting the opener. Pulling the release cord and then lifting the door while the opener is still engaged is unsafe and gives you a false reading. The door has to be fully disconnected before you lift it.
- Skipping the bottom seal check. A deteriorated bottom seal on a garage in Arleta lets in wind-blown dust, rain, and insects. It’s a fifteen-dollar part and a five-minute job for a homeowner.
- Ignoring a slight grinding sound. A little noise this month becomes a bearing failure or a cracked hinge in three months. Grinding means friction means heat means wear. It never gets better on its own.
- Replacing one spring instead of two. Springs wear as a matched pair. When one breaks, the other is equally worn. Replacing just the broken one leaves an unmatched system and shortens the life of the new spring. A pair replacement is standard practice on a LiftMaster-equipped Arleta door.
- Tightening hardware with a drill on high torque. Overs-tightening hinge bolts strips the threads and deforms the hinge. Use hand tools and stop when the bolt is snug, not cranked down.
See the difference
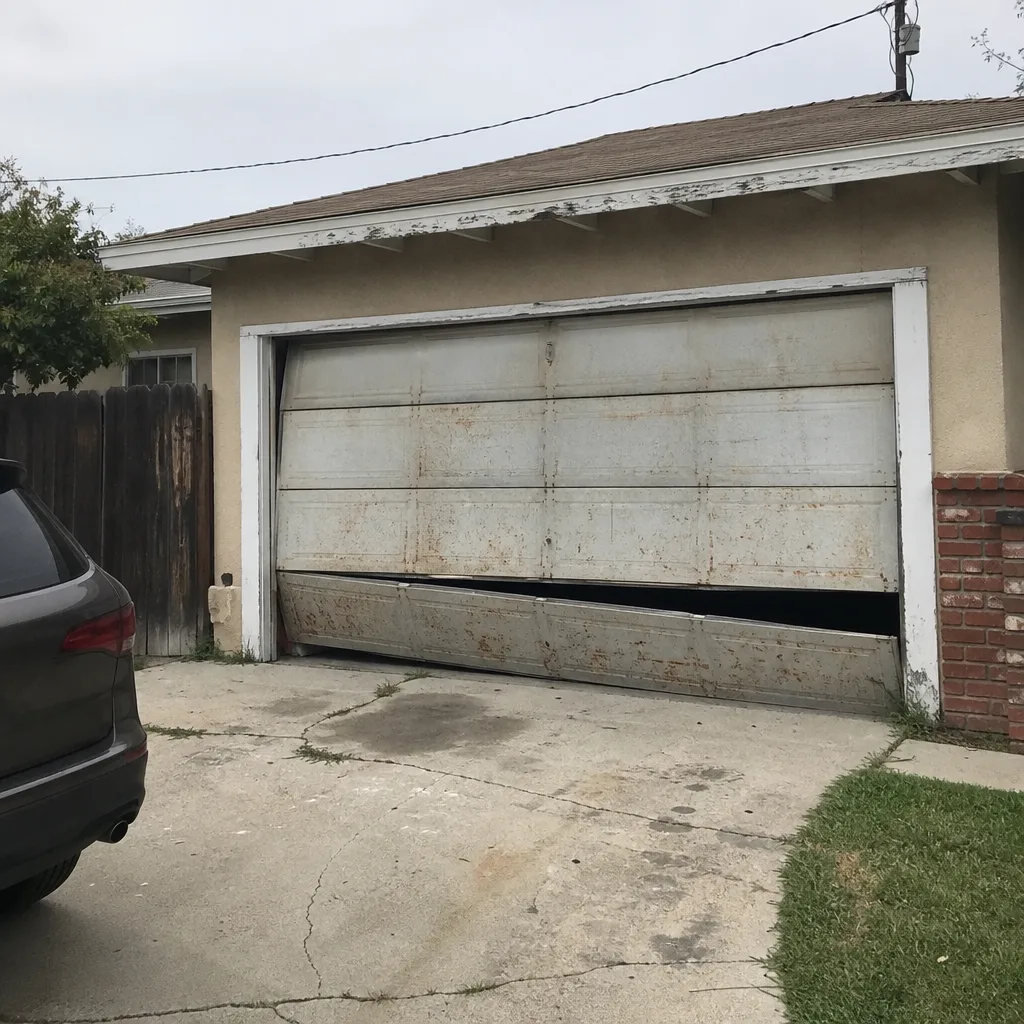 Before
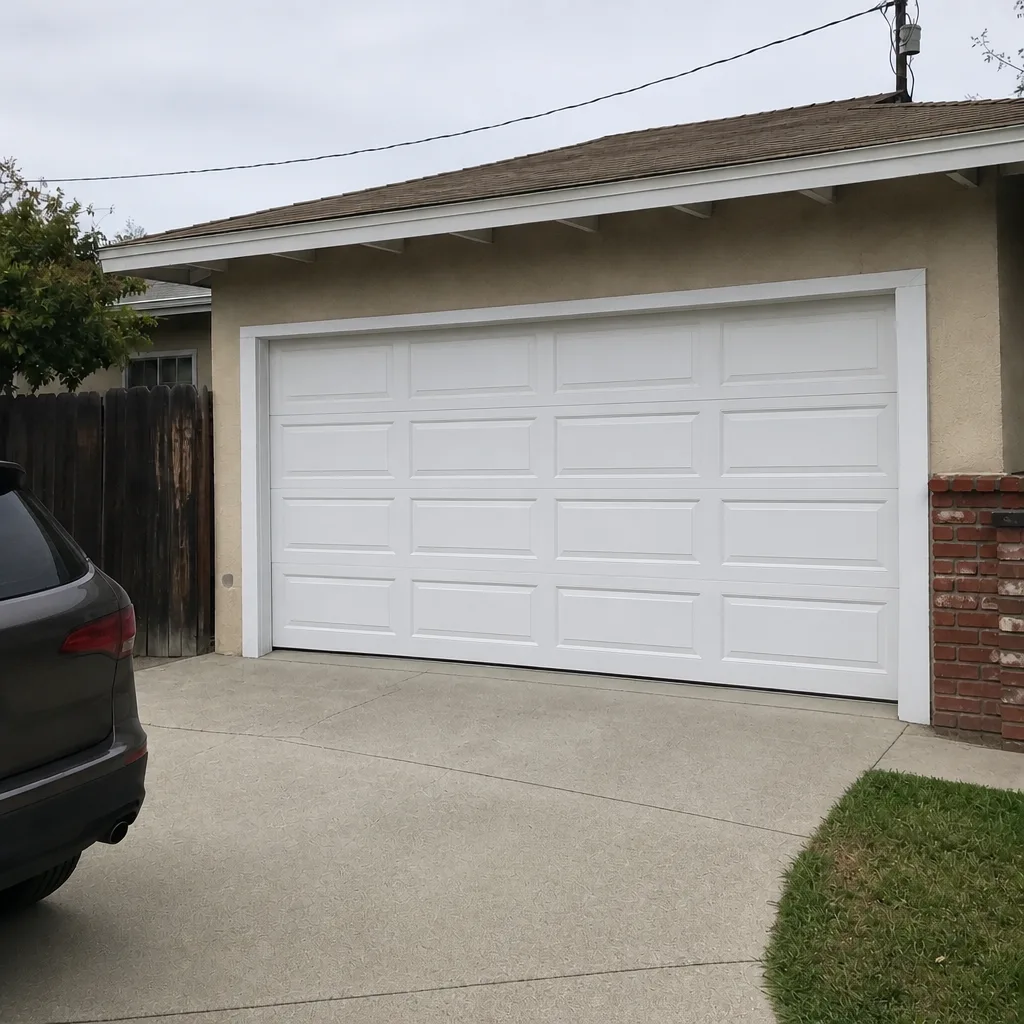 After
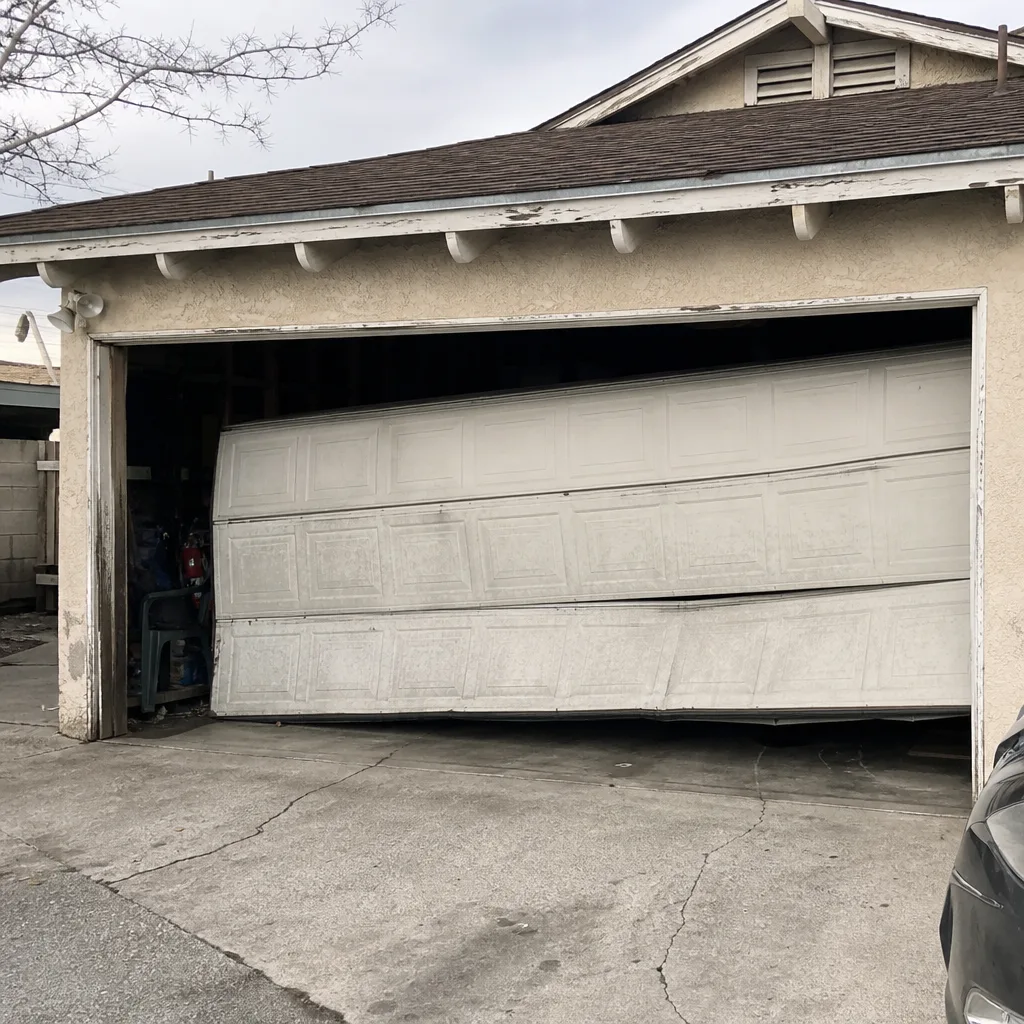 Before
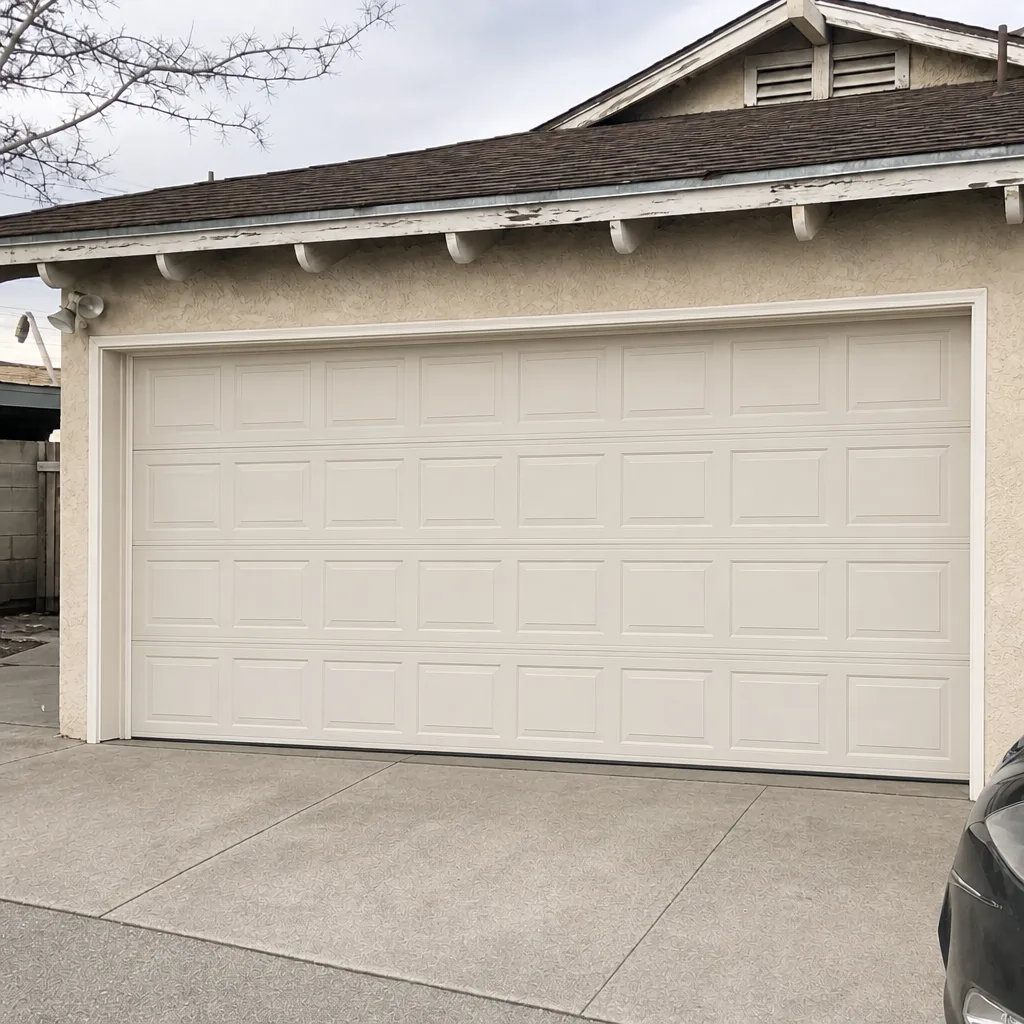 After
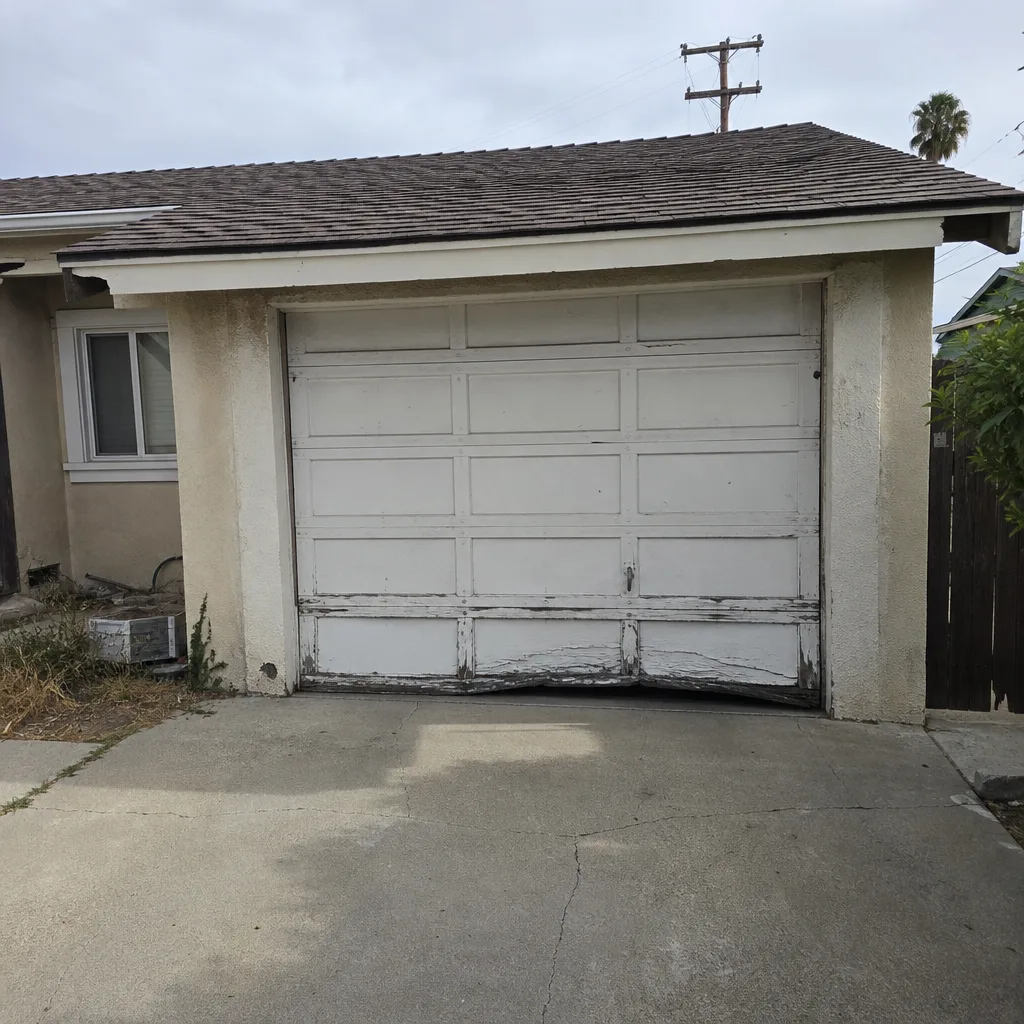 Before
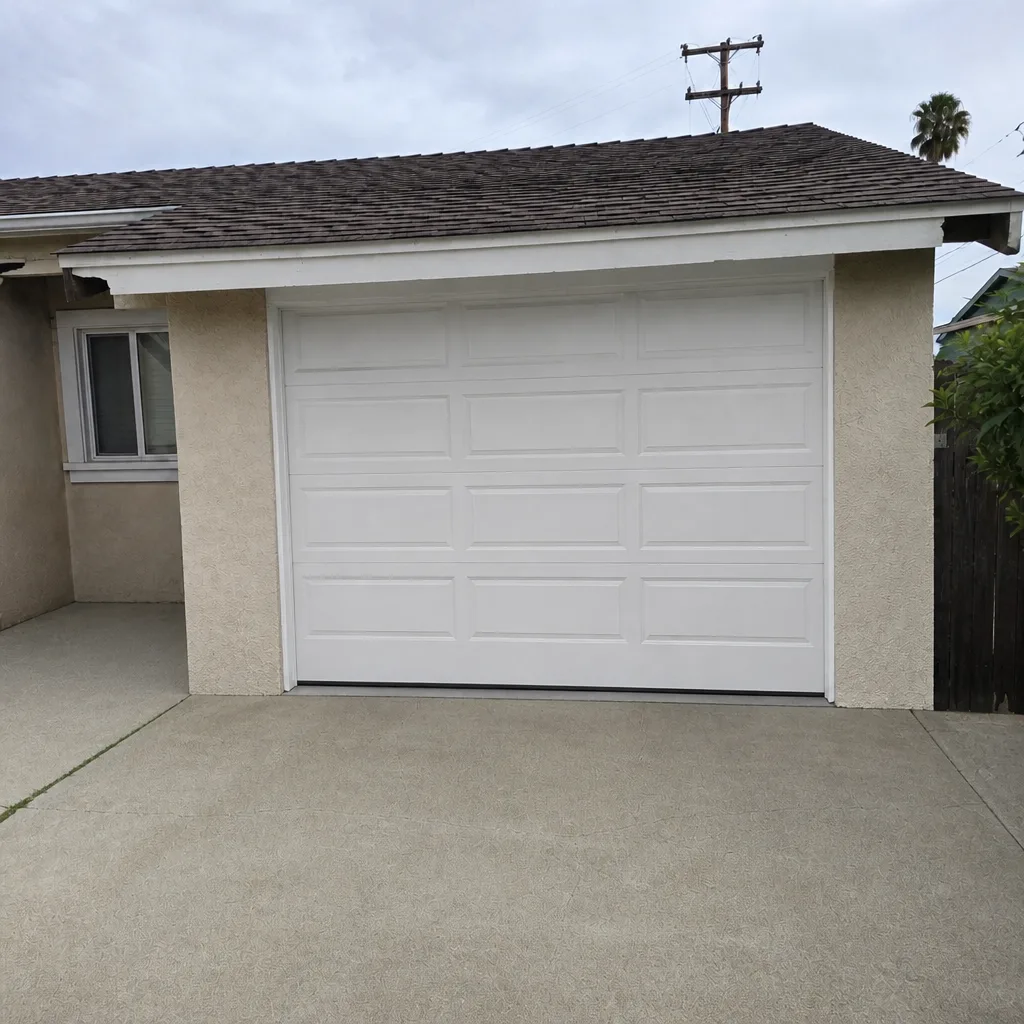 After
When to Call a Professional
Call a professional for any spring work, cable issues, track realignment, opener force setting changes, or a door that fails the balance test twice in a row after you’ve done the baseline checks above. Also call if you hear a sound like a firecracker from the garage, if the door opens unevenly from side to side, or if the opener runs but the door doesn’t move. That last symptom usually means the carriage has stripped or the chain or belt has broken, and it’s a fast diagnosis for a technician who works on the brand in your garage, not a guess. Garage Door Repair Arleta offers free estimates in Arleta. Call (877) 573-0278 if the checklist turns up something outside the safe DIY range. We answer 24/7. Fast dispatch from 7am to 7pm, Sunday through Friday.
Frequently Asked Questions
Run the full checklist twice a year: once in May before the summer heat and once in November before the winter rain. Do a light pass in between: sensors, lubricant check, and one balance test every three months. Homes in Arleta that see heavy daily door use, especially those with converted garages, can benefit from a light check every other month.
A silicone-based lubricant rated for high temperature is the right choice for Arleta’s summer heat. White lithium grease works for metal hinge pivots. Avoid WD-40, standard multipurpose oil, and any product that leaves a wet film, because heat and dust combine into a gummy residue that accelerates wear.
Yes. Close the door, disconnect the opener using the red release cord, and lift the door to waist height. A properly balanced door stays in place without drifting up or down. A door that drops more than a few inches from any position has a spring issue that needs professional garage door repair, not a DIY adjustment.
That’s usually a down-force setting that’s too sensitive, a travel limit that’s slightly off, or a photo-eye sensor that’s misaligned. Start by cleaning and re-aligning the sensors as described in Step 1. If that doesn’t fix it, the opener’s force or limit settings need adjustment, which is a job for a technician familiar with your opener brand.
Nylon rollers have sealed ball bearings in most cases, and the bearing itself can benefit from a light silicone spray. The nylon wheel face does not need lubrication. If the bearing is sealed and covered, leave it alone. Lubricating nylon or plastic surfaces just attracts dust and creates a paste.
Call (877) 573-0278 and describe what the door is doing. We answer 24/7. Fast dispatch from 7am to 7pm, Sunday through Friday. A door that won’t close is a priority because an open garage is an exposed one, and we aim to get a technician to Arleta homes as fast as the schedule allows that day.
The Bottom Line
The order of a maintenance checklist changes what you catch. Clean the photo-eye sensors first because Arleta dust is the leading cause of false reversal. Test the balance before you lubricate, because balance failures get masked by fresh lubricant. Use silicone-based lubricant that survives 95-plus degree heat instead of turning to gum. Tighten hardware after you’ve handled the moving parts, and test the auto-reverse last because it depends on everything else working correctly. The tasks homeowners can do safely are worth doing twice a year. The tasks that involve springs, cables, or opener internals are not. If the checklist turns up a problem outside the safe range, call a garage door specialist. Garage Door Repair Arleta works on all eight major brands: LiftMaster, Chamberlain, Genie, Clopay, Amarr, Wayne Dalton, Craftsman, and Raynor.
Written by the team at Garage Door Repair Arleta, serving Arleta since 2018.